Wednesday, July 17, 2013

I'm This Quilt's Paparazzi

I've made some slow but good progress on my indigo quilt.  

Making up a quilt as I go along makes me so happy.  I thought I'd just walk through it here because, for some odd reason, people tend to be a little intimidated by the process.


First I cut up some fabric (duh).


I pick a satisfying shape. I like me some diagonals.


Then I add a piece to one side.  I usually pick the diagonal edge because then I can work the panel towards being sort of a square by the time I'm finished with it.


Chop chop to even it up.


Then I kind of cheat by just grabbing a piece of fabric that is larger than I need so that I can cut it down to size later.  


I love to use all the little scraps and so I don't feel like I'm wasting fabric.


Right sides together and line 'em up.  No, I don't pin unless I really have to.


I iron all the seams open as I go along.  I love ironing linen.  It can really take the heat.


 Here it is before I cut in down to make it square.


Here's where I started. I know, I really went overboard on the pictures.  
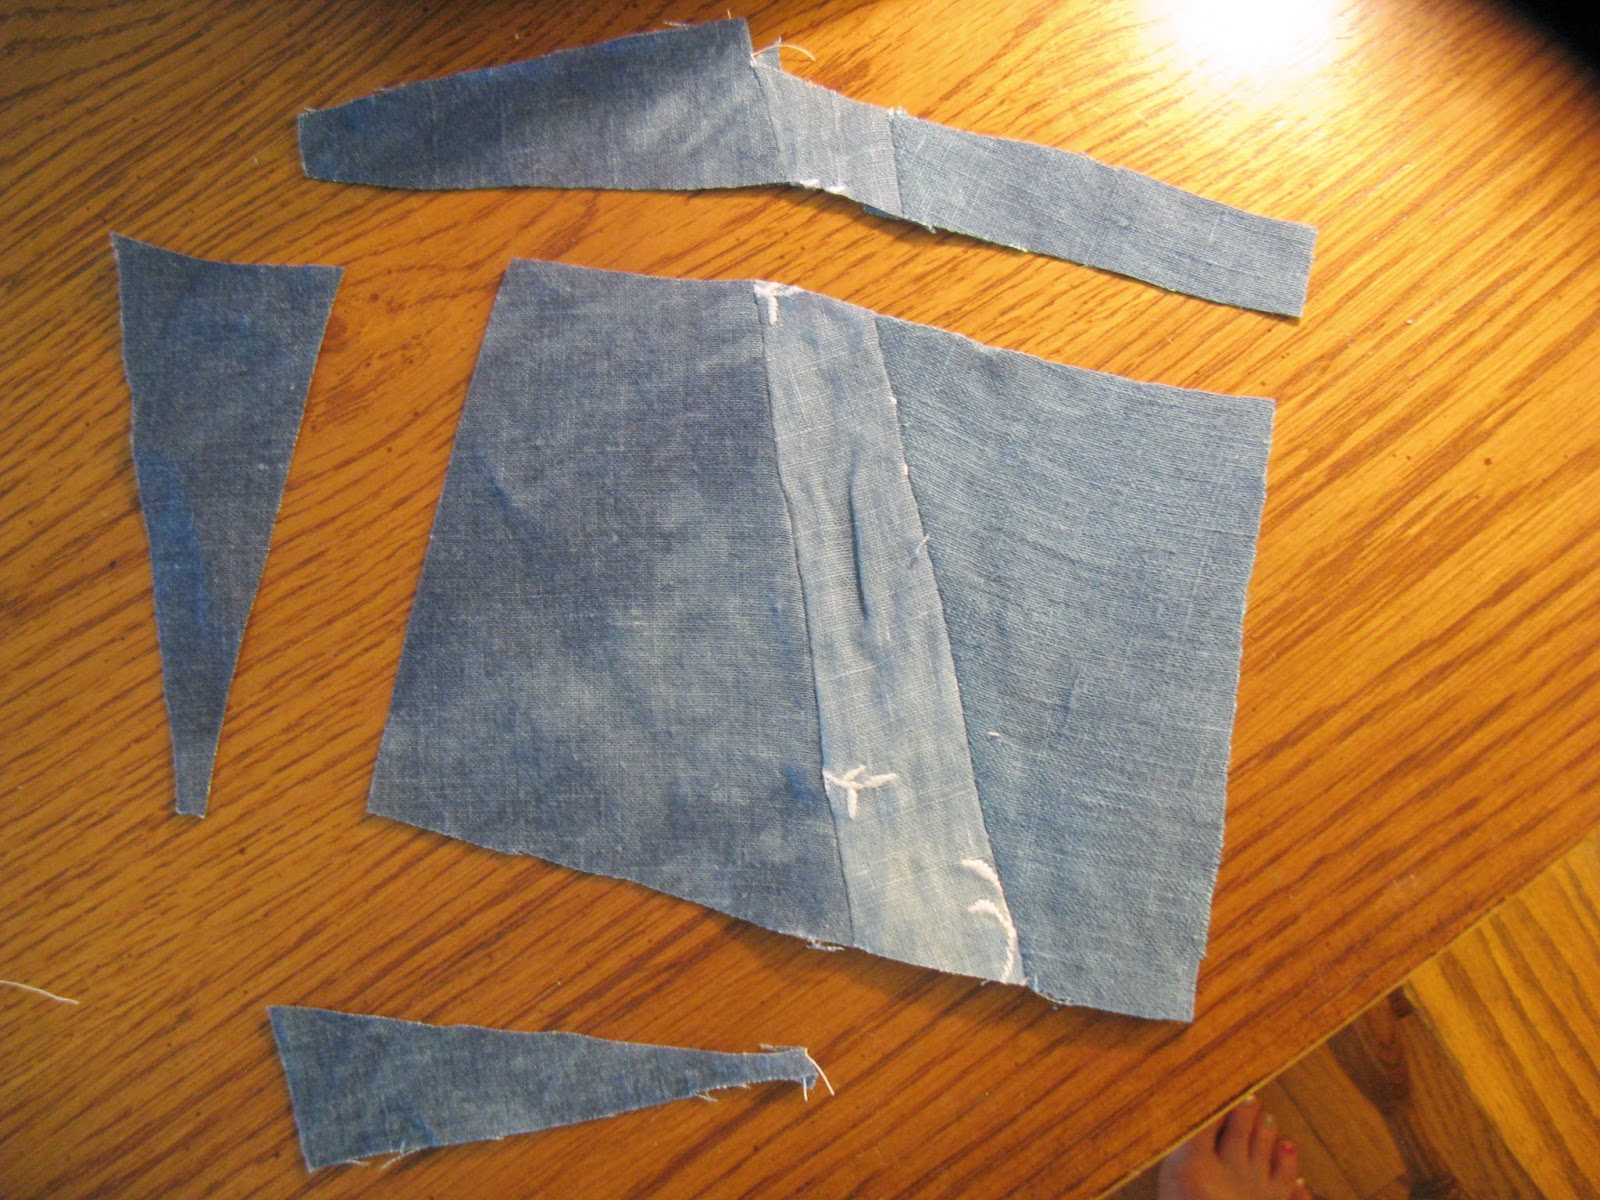

It's really more of a rectangle.


I sewed these two together.  


Here's some more bits about to be added on to a square that's already pretty far along.  When I pick my little pieces, I always make them longer than they really need to be.


Because of the seams, doncha ya know.


See, it's just long enough after sewing it together and ironing the living shit out of it.  


Chop chop again.


Sew sew again.


And there's one of the square is in all her glory.  I feel like I'm this quilt's paparazzi.


I just thought I'd add this one last picture. I take great pains to make sure that my seams don't line up.  One always slips by me though.  I've made 10 squares.  I need to make one more and then I can sew them together.  I've been so busy that I haven't been able to commit my regular loony amount of time quilting.  But when I do, I have a blast!

Monday, July 8, 2013

Big Messy Pile In My Garage

Remember when the fabric we dyed with indigo told me it wanted to be a quilt?


I didn't listen right away.  First I made some napkins.


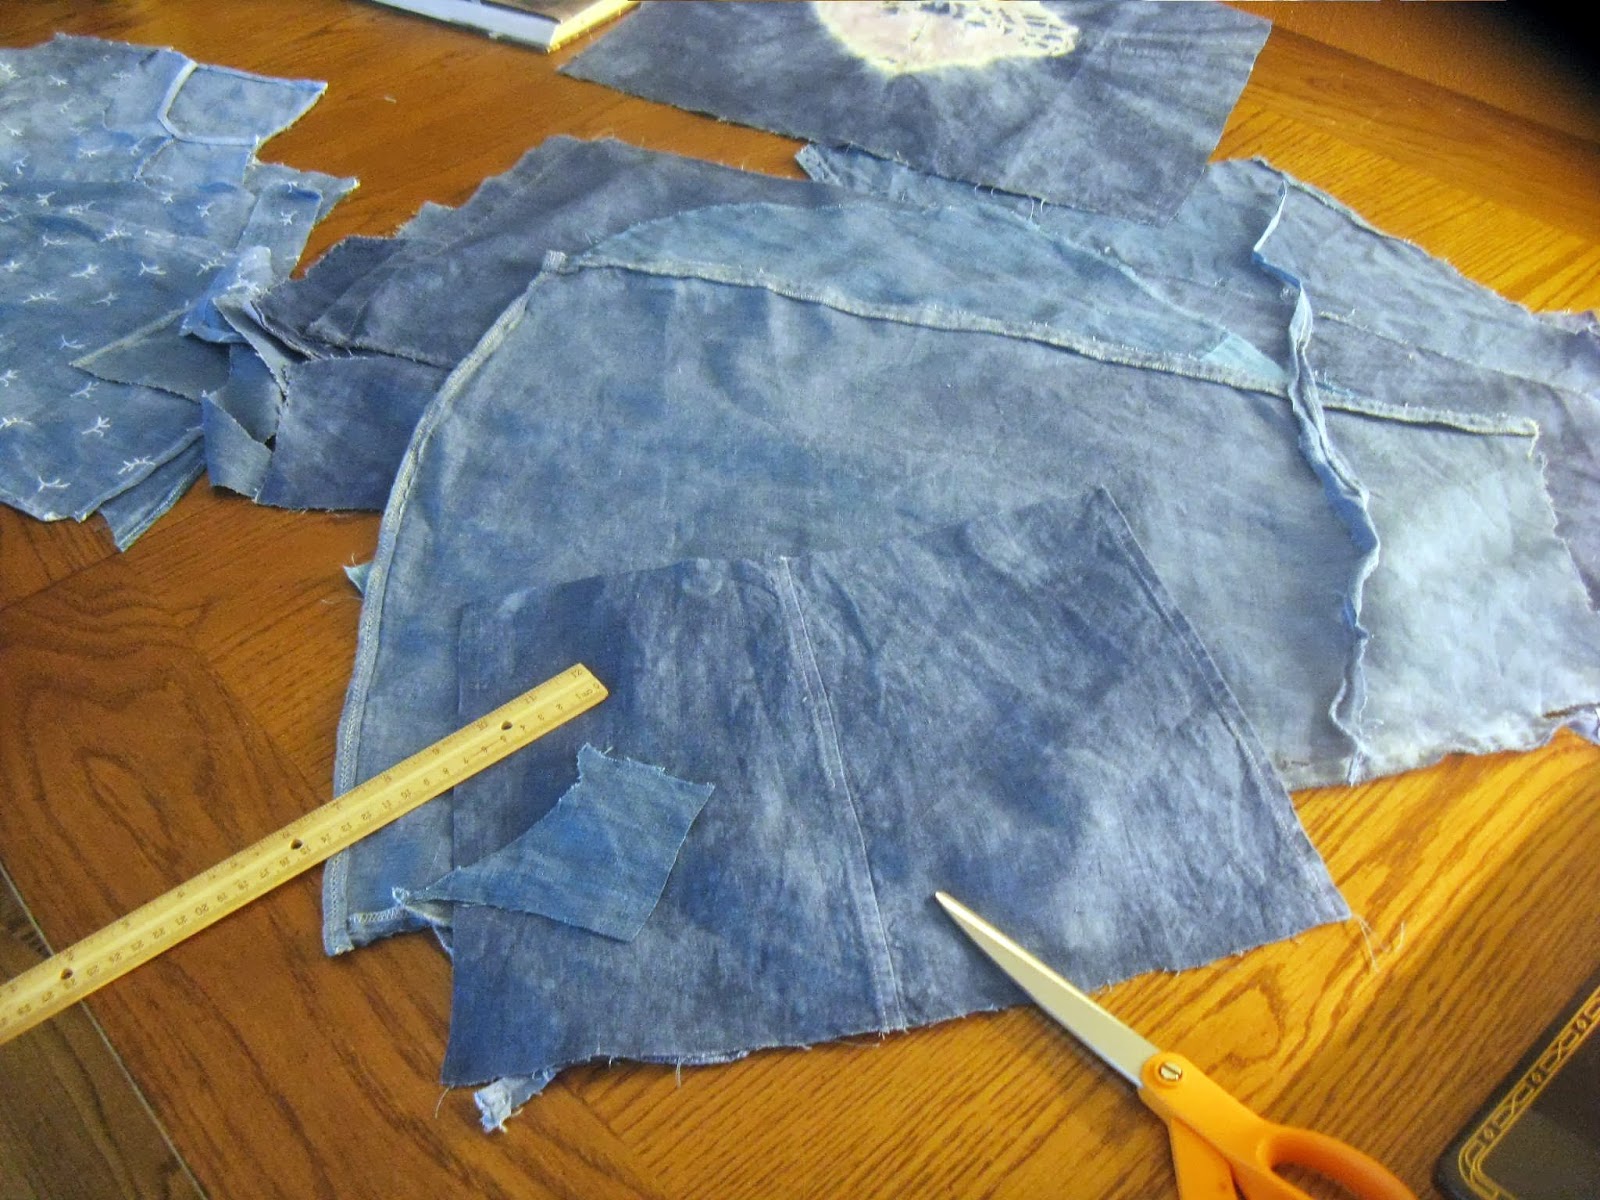
Then, for some reason to do with people visiting and using my car and me being disorganized, it all ended up in a big messy pile in my garage. That's right, the garage. 


But now it's all alright because I spent my afternoon sewing it into quilt squares.  


Have I ever mentioned - over and over again - that I loooooooove improvising a quilt together.  Love it.  I can't imagine that following a pattern is even half this much fun.


I also love linen and have taken a ridiculous number of close up


and far away


 and close up pictures.


I made seven squares today.


I'll probably make nine all together,  Maybe twelve, I don't know.


I think this is my favorite.  


So here's another picture of it.


This one I'm going to just keep in one piece.

I haven't sewn for a while and it was so fun to do.  

I remember once telling a friend of mine that I had figured out how to make quilting go really fast.  Then I realized that I didn't actually speed up the process, I was just enjoying myself so much that time was flying.  

Sunday, July 7, 2013

I Stained The Driveway

We ended up with mixed results from our rust dyeing.  


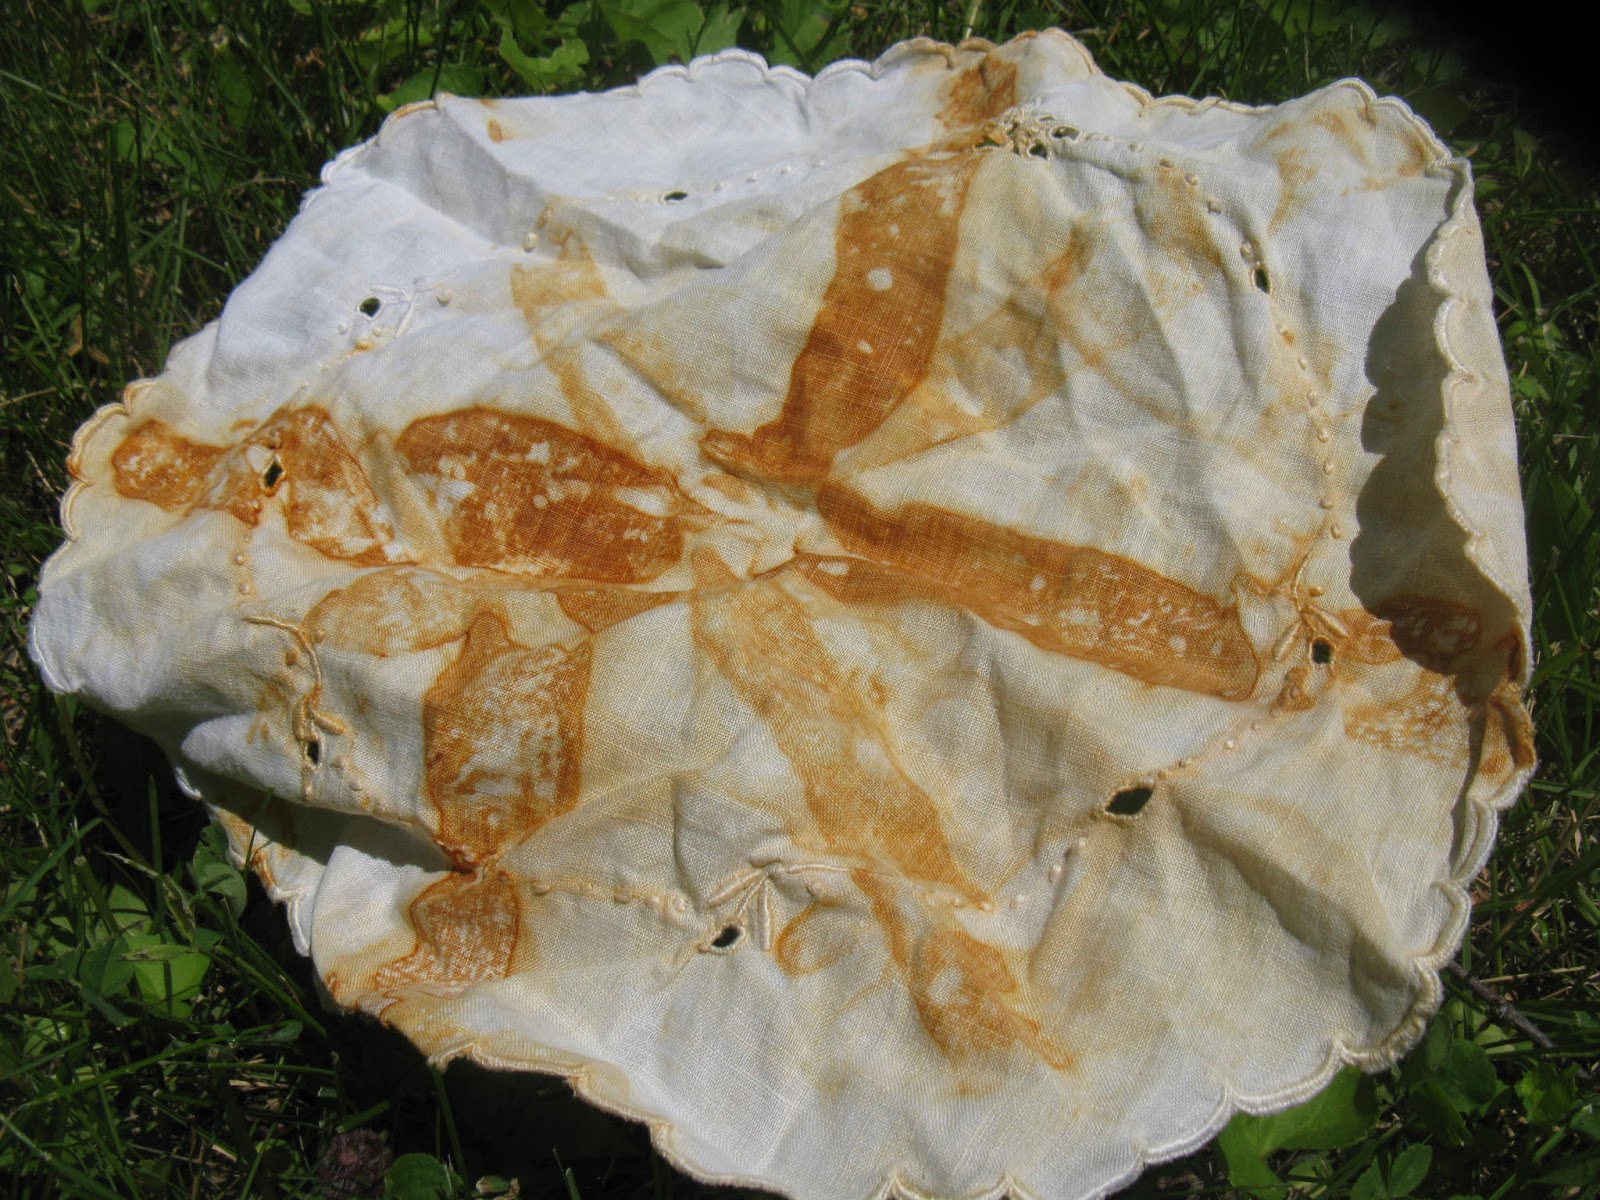
Jennifer had two big pieces of canvas.  This one ended up looking really cool.  
One day soon, it will be an apron.

The other one should have been really amazing, she placed in on coils of wire.  But they didn't rust, we figure they must have been coated.  


This part sat on the outdoor fireplace grill - a very popular piece.

But this one is fabulous and we learned to test metal first.  If you get it wet and leave it out, you'll be able to tell if it will rust or not before you play with it.  


I love this, it's from the grill of the smallest hibachi I've ever seen.  Smaller than the one in the link.


This one was wire wrapped around rebar.  It's my favorite of the stuff I made.  


The lines are from the wire.  


I think it was floral wire - not sure though.  That's what happens when you buy your supplies at thrift shops and yard sales.  :)


This is from where the rebar touched the fabric.  I like this part, too.  We're going to find some larger tubes to wrap fabric around so that more of the fabric gets color.  We're thinking wine bottles or large pvc tubes.   Stay tuned.


Here's a sweet little piece that I put on some rail road ties and steel scrubbies. 


 I don't know how I feel about it, it's a bit too something something for me.  Geometric, maybe?  

  
I love this.  It's a sleeve from a horrifying lilac linen jacket - plus sized with a very unflattering cut - it needed a change.  I laid it on top of a steel screen from our outdoor fire pit.  


I love the all over pattern from it.  


This sleeve I wrapped around a rusty wrench with some various washers and metal doo-dads added in.  Its pretty cool, too.


Psychedelic man!


And here's the shirt.  I think I like it.  I put it on a drain cover that I found on the side of the road several years ago.  I picked it up because...just because.  


This is the back.  I like the front better than the back.  I covered the stain I wanted to cover.  But all over, I'm not nuts about the look.  It looks stained more than dyed.


Here's the apron with my bonus shadow.  The apron just looks dirty to me.


Up close, if I were to take the time to appreciate the details, I like them.


But parts also just seem dirty to me.  I think I like the all over patterns better.  The splotchy bits don't work for me at all.  

Next time - and there will be a next time - I might pick up some iron oxide powder.  You can sprinkle it on the fabric and it colors more of it.  I'm hoping the color will look more intentional.  

Also, it took more than 24 hours because we moved the rusty pieces around to different parts of fabrics to dye more of it.  The difference between vinegar and salt was only in the smell.  I didn't see a difference.  

We learned a ton.  We'll be trying this out again maybe on a smaller scale.  I laid out a tarp in the driveway and it took up lots of space.  Jennifer came up with the idea of just putting a piece in a plastic bin.  We could always have a piece rusting if we chose to.  It takes up less space and probably wouldn't stain the drive way.  Oh yeah, I stained the driveway.  

Thursday, July 4, 2013

Rust Dyeing

Time to try something new.  


It seems a little whack-a-doo but that never stops me from trying something.  

In fact, it kinda makes it more tempting, doesn't it?


The idea is pretty simple.  You take some metal that will rust and put it on or wrap it in some fabric.


Get them wet to encourage rusting.  


We added vinegar to some of the pieces and salt water to others to see which would encourage rusting  better.


I'm thrilled to be rusting this shirt.  It's an Alabama Chanin design that I made with an old tee-shirt.  It fits me really well but I stopped sewing at this point when I saw the very light but also really big stain on the front.  Oh, that's why that shirt was in the thrift shop.  So I'm rusting over the stain here, fingers crossed.


Bottle caps on a linen sleeve that is resting on a grate.


Soaking some washers and bottle caps in salt water.


The tool chest, including my ubiquitous cup of tea.


I looked for spray bottles at the dollar store but couldn't find any so I bought these cool water cannon things.  
Way more fun to use than spray bottles.


These are Jennifer's pieces, at least one is destined to be an apron.

Then we covered everything with a tarp.  We just need to keep it wet and hope for the best.  It should take about 24 hours to get rusted.  

Have you ever rust dyed? I'm curious to hear about people's experiences.  


Related Posts Plugin for WordPress, Blogger...