Showing posts with label tutorial. Show all posts

Wednesday, July 17, 2013

I'm This Quilt's Paparazzi

I've made some slow but good progress on my indigo quilt.  

Making up a quilt as I go along makes me so happy.  I thought I'd just walk through it here because, for some odd reason, people tend to be a little intimidated by the process.


First I cut up some fabric (duh).


I pick a satisfying shape. I like me some diagonals.


Then I add a piece to one side.  I usually pick the diagonal edge because then I can work the panel towards being sort of a square by the time I'm finished with it.


Chop chop to even it up.


Then I kind of cheat by just grabbing a piece of fabric that is larger than I need so that I can cut it down to size later.  


I love to use all the little scraps and so I don't feel like I'm wasting fabric.


Right sides together and line 'em up.  No, I don't pin unless I really have to.


I iron all the seams open as I go along.  I love ironing linen.  It can really take the heat.


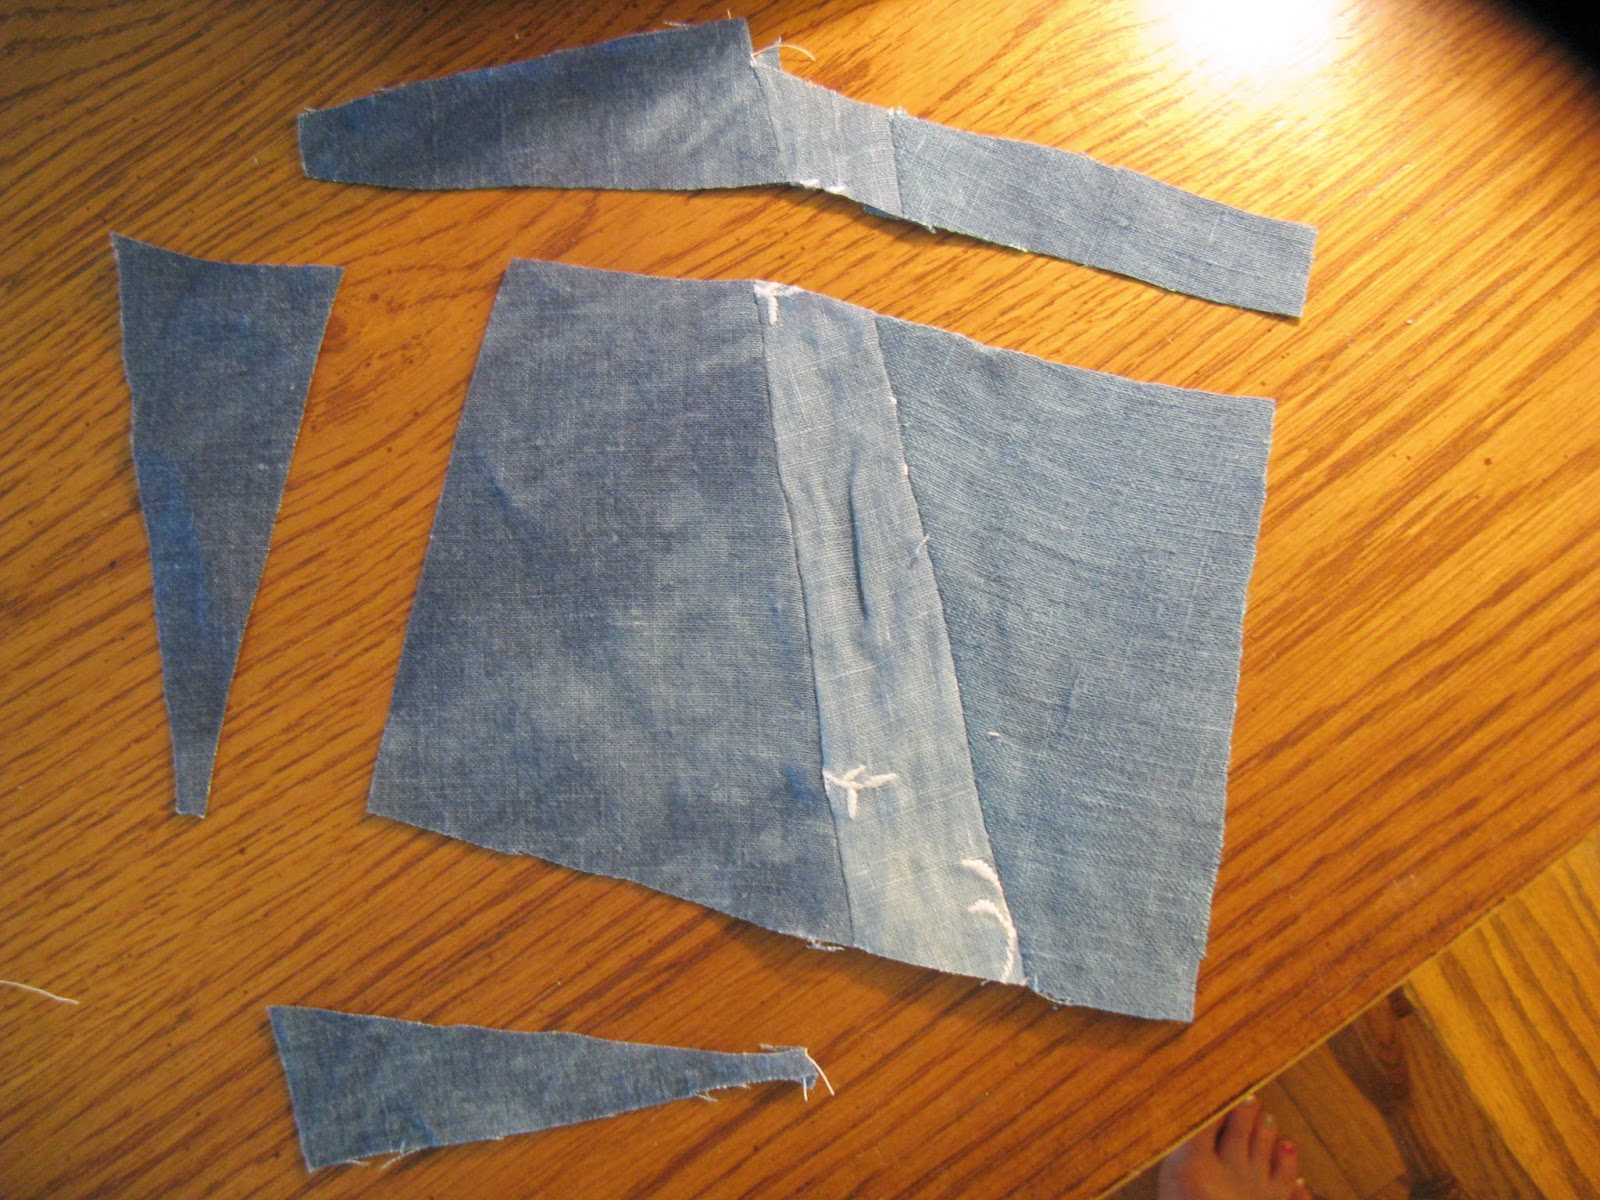
 Here it is before I cut in down to make it square.


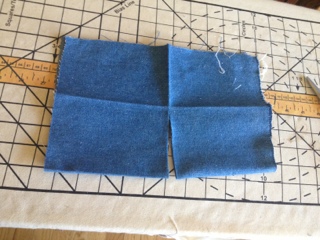
Here's where I started. I know, I really went overboard on the pictures.  

It's really more of a rectangle.


I sewed these two together.  


Here's some more bits about to be added on to a square that's already pretty far along.  When I pick my little pieces, I always make them longer than they really need to be.


Because of the seams, doncha ya know.


See, it's just long enough after sewing it together and ironing the living shit out of it.  


Chop chop again.


Sew sew again.


And there's one of the square is in all her glory.  I feel like I'm this quilt's paparazzi.


I just thought I'd add this one last picture. I take great pains to make sure that my seams don't line up.  One always slips by me though.  I've made 10 squares.  I need to make one more and then I can sew them together.  I've been so busy that I haven't been able to commit my regular loony amount of time quilting.  But when I do, I have a blast!

Tuesday, October 30, 2012

I Can't Stay Grumpy

I'm going to be a presenter at the Wisconsin Book Festival.  Woo hoo!!
I'm going to lead a teen program on making Instant Books.  

Inspired by The Great Good Thing by Rod Townley and How to Make Books by Esther K. Smith; both incredible and inspiring books.  

So, with that in mind, I've been making instant books to use as display items.  
Of course, I had to make one out of denim - duh.


I picked a randomly sized rectangle of fabric; I went with slightly bigger than a regular piece of printer paper.  I thought that would be easier to work with than, say, a postcard size or a couch size.


If this had been regular paper, I would have just folded it, but I get to iron it because it's fabric.  
I folded/ironed it in half.
 

 Opened it and ironed it in half the other way.


Then, I ironed the edges in to the middle so that it ended up looking like this:


Then I folded it like that first fold again.


That gave me this cutting line


  Which I cut.  Just to the first horizontal fold


Then I'm going to refer you here (steps E and F), because, using floppy fabric, it was really hard to get an action shot. 


But, when finished it will be this shape.


Here's where I was when I ran out of time.  I need to sew these features on (That thing that doesn't match the rest is another instant book that I made out of paper...clever, huh?) and then I'll probably sew the rough edges together.  Fun fun fun!

Now, I think we should al collectivley shake our fists at Blogger which made me fight to place these pictures in order.  Grrrr Blogger!  

But, since I'm off to a workshop being run by Lynda Barry (!!!!)  I can't stay grumpy. 

Tuesday, August 14, 2012

Invisible Stitch Mini-Tute


 Here I'm holding the mitered corner in a death grip so I can make sure it lines up in a nice and tidy way.  I've sewn the corners of the binding where I want them as I hand sew this side of the binding to the quilt.  Then I'll tuck the extra fabric into the corner and tack it shut with a stitch.  I wish I'd taken a picture of that.  I'll get it next time I make a quilt.

I took some pictures so I could post a quick little tutorial on how to hand sew a quilt binding on, using an invisible stitch.  It always seems like magic to me.  

The binding fabric is folded under just a bit.  I've machine sewn the binding onto the other side of the quilt so there is a line of stitching on this side that I need to hide under the binding fabric.  I also try to make sure it looks even across the quilt edge but other than those two things, I'm not very careful


I put the needle into the flannel and follow along the line of the binding, right up close to it, for just under about a half and inch.  I pull it out and...


 then put the needle into the binding right next to where it came out of the flannel and make just under a half inch or so long stitch in the binding - always pulling the thread nice and snug.  I pull the needle out and ...


 do it again on the flannel side.  That way the thread is hidden under the fabric and the stitch is invisible.


 I just keep moving along that way all along the binding.  It's always surprising to me how fast it moves along. 

Monday, August 13, 2012

Mitered Corner Mini-Tute

The first place I saw this technique was in Bend the Rules Sewing by Amy Karol.  This is the book that got me sewing again after over a decade; I love it.  I'm sure there are better tutorials than mine all over the interwebs. But I thought (since I took copious pictures of the project) I'd share this tute anyway.  

Quilt corners look hard but they really aren't. 


Here we go:  Machine sewing the quilt binding to the quilt. When I got almost to the corner - say, about a half and inch to a quarter of an inch away I stopped, lifted the need out of the fabric and ...


pulled the whole quilt otter there.  I took the rest of the binding fabric and


 folded it straight up at a ninety degree angle...


 Then, I folded it straight down.  The fabric should be right on top of the quilt, hugging the edges. 


 Then I turned the quilt so the edge I was about to sew was lined up.


Then put the foot in about a half to a quarter of an inch down and sewed along to the next corner, where I did the same thing again.  I think I clipped the thread but I really didn't have to.  When I hand sewed up the other side of the quilt, I tidied up the corners.  Picture of that coming up om my next gratuitous mini tute...stayed tuned!


Tuesday, January 31, 2012

Deep For Someone Who Uses The Term "Duh" So Often

 Remember this?  
 

It's that learning swatch that I started for no apparent reason and had no goal for.  
It was fun to work on, though.


Once I started quilting this really big quilt together using meandering lines of embroidery thread, the urge to work on the smaller, more pointless piece with meandering lines of embroidery thread vanished. 

The swatch sat neglected and was increasingly getting in the way.  Getting in the way because I've been making so much mail art that I am running out of room for other projects.  

The answer to my dilemma has become wildly obvious to you already, isn't it.  
It smacked me right in the face yesterday morning.


This was destined to become postcards!
DUH!


So I cut it up into nine pieces - the first cut was really scary.  But once you start, the committment is made and there's nothing to do but move forward.  Deep, huh?  Well, deep for someone who uses the term "duh" so often.

Last gratuitous macro shot of the stitches.

 So, let's call this a tutorial, shall we?  After cutting up the fabric, I cut up some light cardboard to match the size of the fabric square.  I used a little bit of glue just to keep the cardboard from slipping around while sewing.


I sewed them together, using the longest and widest zig zag stitch settings on my machine.  I shortened the stitch later when I felt more comfortable.  The key is too keep the stitches long and wide enough to avoid perforating the cardboard.  If the holes from the needle are too close together, it all just falls apart.

     
I sewed with the cardboard side up first because it was easier to control.


Then I flipped it over and sewed around the edge of the fabric side.  I followed  the edge of the cardboard the first time around and then the edge of the fabric after I flipped it.  That way I was sure to keep it all lined up and minimize the fraying.  They didn't always line up exactly, which I really enjoyed the look of and didn't want to lose.
   

 Ta-da! 


Repeat nine times.  If you biggify the picture you'll see more variety in the stitching than I described here.  I became more experimental as I became more comfortable working on this.  One postcard became totally biased and I think that's my favorite one.
 

Then you just need to address and send them.  I added a pretty stamp and used some pink poster board for one, again, it's that variety I love.  

OK, this is the last gratuitous macro shot.  I loved photographing this piece up close!
 The only downside is that they were so expensive to send.  The lady at the post office loved them and was very friendly and smilingly charged me $1.95 each because they aren't paper.
  
Oddly, the one I sent to Germany was only $1.75.
Related Posts Plugin for WordPress, Blogger...